How to Clean a Leather Wallet at Home: A Complete Step-by-Step Guide
Cleaning a leather wallet at home is usually simple, but the main risk is not dirt — it's using too much water, harsh cleaners, or heat. In most cases, safe cleaning comes down to four rules: identify the leather type, test the product on a hidden area, use minimal moisture, and condition the wallet only after it has fully dried.
Before you clean anything, check four things: what type of leather you have, whether the color transfers when lightly tested, whether the wallet is simply dusty or actually stained, and whether there is any lining, glue, or delicate trim inside. This takes less than a minute and helps you avoid using the wrong method on the wrong material.
How to Clean a Leather Wallet: Step-by-Step Guide
Step 1: Empty the wallet completely, shake out loose debris, and wipe away dust with a dry soft cloth. Check inside the card slots and pockets as well, because trapped dirt makes cleaning less predictable once moisture is added.
Step 2: Mix a small amount of mild soap with lukewarm water. Do not use hot water: heat can deform leather, affect the finish, and damage glue or lining inside the wallet.
Step 3: Dampen a soft cloth in the soapy water and wring it out well. The cloth should feel slightly moist, not wet. Too much moisture can soak into the edges, seams, or lining and make the wallet harder to dry safely.
Step 4: Wipe the surface gently, working in small areas so you can control how much moisture touches the leather. Be especially careful around edges, corners, and stitching, where water can get inside more easily.
Step 5: If a dirty area does not come clean on the first pass, wipe it again gently instead of scrubbing harder. Strong friction can damage the finish, especially on coated leather, and may leave dull patches that are difficult to fix at home.
Step 6: Rinse the cloth in clean water, wring it out well, and wipe the wallet again to remove any soap residue. If soap stays on the surface, the finish may feel tacky and collect dirt more quickly.
Step 7: Pat the wallet dry with a lint-free towel and let it air-dry naturally away from heat and direct sun. Do not try to speed up drying with a radiator or hair dryer. If needed, keep the wallet slightly open with plain tissue so it holds its shape while drying.
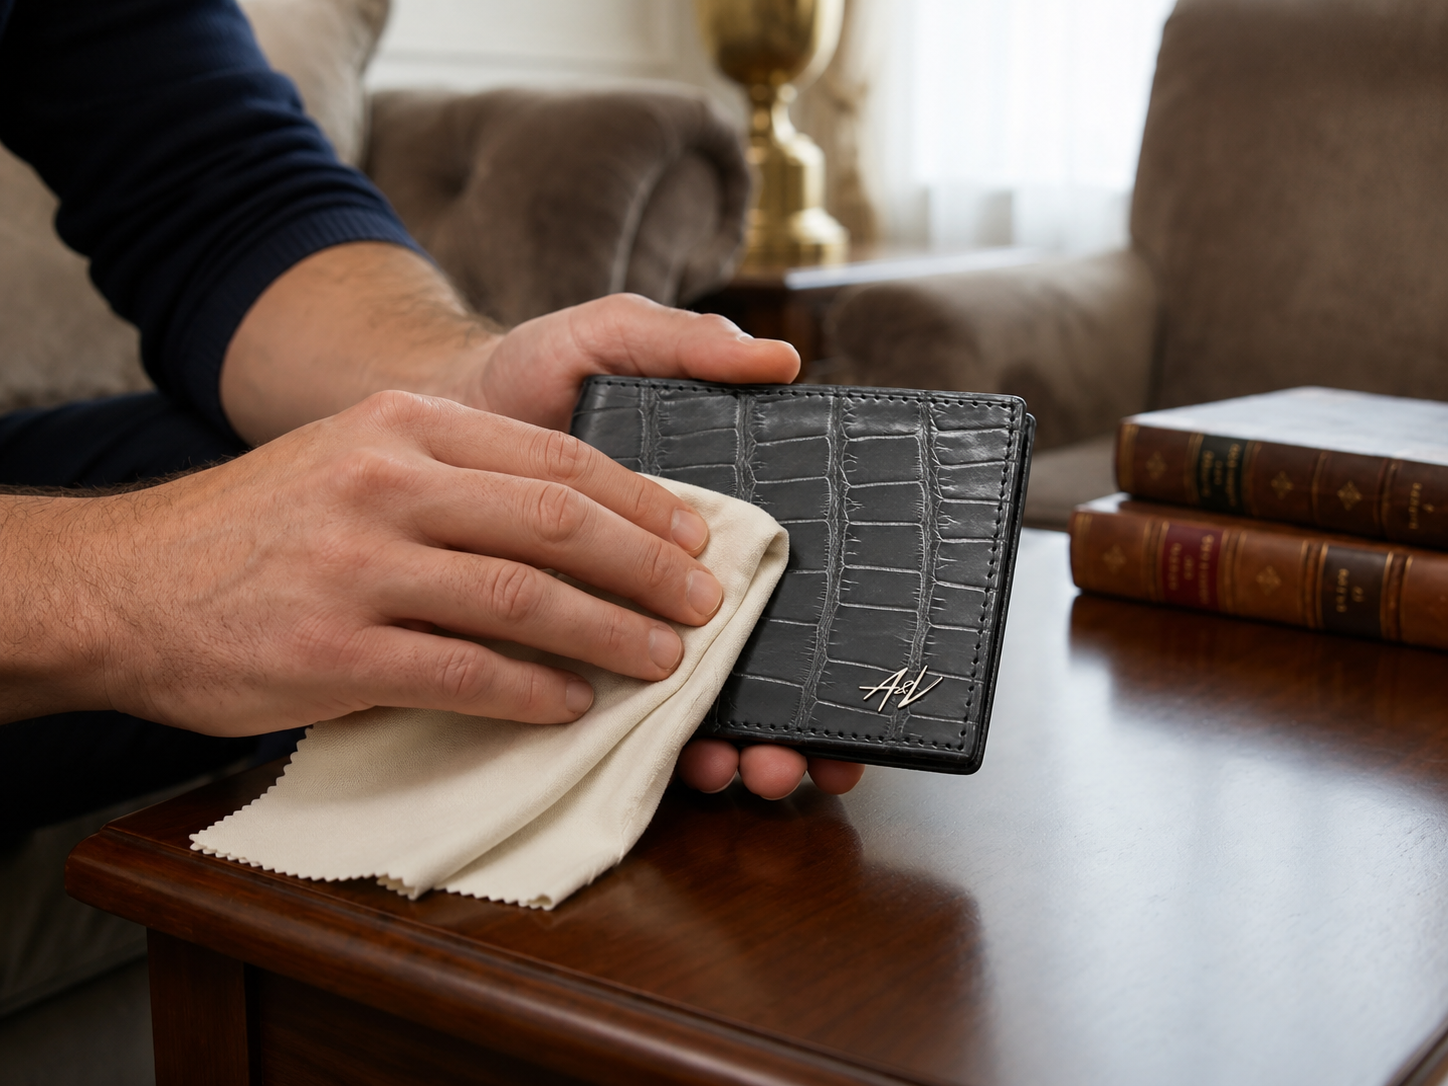
Step 8: Once the wallet is fully dry, apply a thin layer of leather conditioner made for this type of leather. Use only a small amount and remove any excess with a clean cloth so the surface does not feel greasy.
Cleaning itself takes only a few minutes, but drying and conditioning take longer. Do not put the wallet back into daily use until it feels fully dry.
When Home Cleaning Is Not the Best Option
Home cleaning is a poor choice if the wallet is suede or nubuck, if color comes off during the spot test, if there is mold, if the stain is deep and oily, or if the surface already feels sticky from old products. In those situations, adding more cleaners at home often creates more damage rather than less.
Before You Start: Identify Leather Type, Run a Spot Test, and Choose Your Method
Before cleaning, make sure you know what type of leather you are dealing with. Smooth finished leather is usually the easiest to clean at home, while suede, nubuck, delicate unfinished leather, and exotic skins require more caution and often different products.
What You'll Need: Tools and Materials
- Microfiber or soft cotton cloth (never paper towels—they leave micro-scratches in the finish)
- Mild soap (dish soap, Castile soap, or pH-neutral hand soap)
- Distilled water (tap water deposits minerals that appear as white residue after drying)
- Cotton swabs for tight spots around stitching
- Lint-free towel for drying
- Small bowl for mixing
- Soft-bristle brush (optional, for textured leather)
- Leather cleaner (optional, for stubborn stains)
- Leather conditioner (not optional—you need this)
Identify the Leather Type
Pigmented leather: a coated leather that is usually easier to clean than unfinished or highly absorbent surfaces. It is common in everyday wallets because the finish offers more surface protection than delicate leather types.
Aniline leather: a more absorbent and delicate leather with little or no protective surface coating. It can react quickly to moisture, so it should be cleaned much more carefully than finished leather.
Nubuck or suede: these textured leathers usually should not be cleaned with the same soap-and-water method used for smooth leather. They are more easily marked by moisture and are generally better handled with tools and products made specifically for suede or nubuck.
Patent leather: a glossy coated surface that is usually cleaned more gently than regular smooth leather. In many cases, a soft damp cloth is enough, and heavier conditioners are usually unnecessary for this type of finish.
Exotic leathers: check the care instructions from the brand or manufacturer before using any cleaner at home. These materials can react very differently from standard leather, and the safest method depends on the specific finish.
Run a Spot Test (Non-Negotiable)
Always test your cleaning method on this specific wallet, even if you have cleaned leather before. Different finishes, dyes, and coatings can react differently to the same product or amount of moisture.
- Dampen a cotton swab with your cleaning solution.
- Press it against a hidden area (inside a card slot or under a flap) for 10 seconds.
- Check for darkening, color transfer, or texture change.
If you see color transfer, darkening, or any texture change, stop immediately. That usually means the finish is sensitive, unstable, or reacting badly to moisture, and continuing may leave permanent marks. In that case, do not move on to full cleaning until you know the leather can handle it.
Choose Your Cleaning Method
|
Method
|
When to Use
|
Pros
|
Risks
|
Tools
|
Leather Type
|
Dirt Level
|
|---|---|---|---|---|---|---|
|
Soap + Water
|
Regular cleaning, light grime
|
Safe, cheap, effective for most wallets
|
Over-wetting warps edges and can penetrate stitching holes
|
Cloth, mild soap, distilled water
|
Pigmented, full-grain
|
Light to moderate
|
|
Vinegar + Water
|
Spot cleaning, natural deodorizing, hard water stains
|
No detergents, gentle on finished leather
|
Higher risk on aniline, suede, nubuck, patent, and other delicate finishes; may darken or mark the surface
|
Cloth, white vinegar (1:2 ratio), distilled water
|
Pigmented (test required)
|
Light
|
|
Professional Cleaner
|
Heavy stains, dye transfer, old dirt, pre-owned wallets
|
Deep clean, formulated pH balance
|
More expensive; wrong formula can strip finish
|
Leather cleaner (check label for your type), applicator
|
All types (verify compatibility)
|
Moderate to heavy
|
Vinegar is not automatically safer just because it is a common home remedy. On some leather finishes, it can affect color or leave uneven marks, so it should be treated as a limited-use option rather than the default method.
Natural Cleaning Method for Your Leather Wallet
If you want the safest simple approach, start with a soft cloth lightly dampened with water or a very mild soap solution. Vinegar should not be treated as a default leather cleaner, because on some finishes it can alter color, dull the surface, or leave uneven marks.
If you still want to try a vinegar-based solution, use it only for light surface grime on finished smooth leather, always test it on a hidden area first, and stop immediately if the leather darkens or the dye transfers to the cloth.
Do not use vinegar on suede, nubuck, aniline leather, patent leather, or exotic skins. For dye transfer, oily stains, mold, or older built-up residue, a product made specifically for your leather type is usually the safer choice than homemade mixtures.
Why You Must Condition Your Wallet After Cleaning
After wet cleaning, conditioning helps the leather stay flexible and reduces the risk of dryness and stiffness. Use a product made for small leather goods and apply only a thin layer once the wallet is fully dry.
Cleaning can leave leather drier than before, especially if too much water was used. If you skip conditioning after a wet clean, the material may become stiffer over time, and the first visible damage often appears along fold lines and high-stress areas.
To condition the wallet safely:
- Wait until the wallet is fully dry before applying conditioner. If moisture is still trapped inside, adding conditioner too early can make drying slower and increase the risk of odor or mildew.
- Choose a pH-balanced conditioner designed for small leather goods—not boot cream, saddle soap, or mink oil (too heavy for thin wallet leather).
- Apply a thin layer with a soft cloth and start with a very small amount. You can always add more if needed, but too much product is harder to remove cleanly.
- Let the conditioner settle for a short time, then wipe away any excess with a clean cloth. The leather should feel smooth and flexible, not greasy.
Using too much conditioner can leave the surface sticky and make the wallet pick up dust and lint more quickly. Apply a small amount first and wipe away any excess if the leather starts to feel greasy or tacky.
How often?
How often you condition a wallet depends on how often you use it, how dry the environment is, and how the leather looks and feels. As a practical rule, condition it after wet cleaning and then only as needed if the leather starts to feel dry, stiff, or less supple than usual. Over-conditioning can leave the surface sticky, so more product is not better.
Conditioning helps the leather stay flexible after wet cleaning and reduces the chance of the surface becoming dry or stiff too quickly.
How to Repair Minor Scratches and Scuffs
Minor scratches and scuffs do not always require professional repair. If the wallet is otherwise in good condition, some light surface damage can be improved at home after the area has been cleaned and fully dried.
For Light Scratches (Surface Level Only)
- Rub the scratch gently with your fingertip for 15–30 seconds. Body heat and natural oils can sometimes blend the mark back into the grain. This works because many "scratches" are actually compressed fibers, not cuts.
- Buff with a soft cloth in small circles. Many surface scratches disappear with friction alone.
When it works: Fresh scratches on pigmented or semi-aniline leather. When it doesn't: Aniline (no protective coating) or scratches that have removed finish.
For Small Scuffs (Color Transfer or Abrasion Marks)
- Clean and dry the area first with soap solution to remove surface dirt.
- Apply a small amount of leather balm or neutral cream—start with a rice-grain-sized amount.
- Work it in gently with circular motions and let it set for 5 minutes.
- Buff to blend the sheen with the surrounding leather.
For Deeper Scratches (But Not Cuts)
If the scratch hasn't cut through the leather:
- Apply thin layers of leather cream in multiple passes, letting each layer dry 10 minutes.
- Buff after each application to blend color and texture.
- Repeat 2–3 times—thick single layers look patchy and attract dust.
Realistic expectations: You're masking, not erasing. Deep scratches will always be slightly visible under close inspection.
When to Stop
If the scratch has removed dye or exposed lighter-colored leather underneath, you're beyond home repair. At that point, you need matched leather cream or dye cautiously applied—or professional color restoration. For cuts, torn stitching, or structural damage, consult a leather repair specialist.
Common Mistakes to Avoid When Cleaning Leather
Most damage during home cleaning happens because the wrong product is used, too much moisture gets into the wallet, or the leather is dried too aggressively. These are the mistakes most likely to leave permanent marks or surface damage.
1. Using Alcohol or Disinfectant Wipes
Alcohol can dry the surface, weaken the finish, and increase the risk of discoloration or stiffness. That is why it is a poor choice for routine leather cleaning.
Do not use alcohol or disinfectant wipes for routine leather cleaning. If disinfection is necessary, first check the care instructions from the brand or manufacturer, because some finishes react badly even to a single application. When in doubt, it is safer to use a slightly damp cloth for surface cleaning than to experiment with alcohol.
2. Soaking the Wallet in Water
Too much water is one of the easiest ways to damage a leather wallet. Moisture can get into the seams, edges, lining, and glued areas, which makes the item harder to dry evenly and raises the risk of warping, stiffness, or mold.
As a rule, the cloth should feel slightly damp, not wet. If the leather becomes visibly soaked during cleaning, you are using too much moisture.
3. Drying with Heat
Heat can dry leather too fast and unevenly, which increases the risk of warping, stiffness, fading, or surface damage. Let the wallet dry naturally away from radiators, hair dryers, and direct sun.
Let the wallet dry naturally in a ventilated place away from direct heat and sun. Drying time will vary depending on how damp the material became and whether the wallet has a lining.
4. Scrubbing with Abrasive Materials
Sponges, magic erasers, and rough brushes mechanically abrade the topcoat—the thin protective layer that gives pigmented leather its water resistance and durability.
Matte patches appear where finish is removed. These areas absorb dirt and water faster, creating permanent discoloration. Once topcoat is gone, you can't restore it at home.
Correct tools: Soft cotton or microfiber cloths only. For textured leather, use brushes labeled "soft bristle for leather"—not shoe brushes, which are too stiff.
5. Skipping the Conditioner
After wet cleaning, leather may feel drier than before. In many cases, a suitable conditioner helps restore flexibility and reduces the chance of stiffness, especially around fold points and other high-stress areas.
Correct approach: once the wallet is fully dry, apply a small amount of conditioner if the leather looks or feels drier after cleaning.
6. Not Testing First
Every wallet reacts differently to water and cleaners based on leather type, dye quality, and finish. Manufacturers' processes vary—what's safe for one brand may damage another.
Dye bleeding, color change, finish lifting, or texture damage can be difficult or impossible to reverse once they happen. A quick spot test is a simple way to reduce that risk.
Correct approach: Test every new product or method on a hidden area. Wait 60 seconds and check for any change. If there's none, proceed.
Frequently Asked Questions
Can you use isopropyl alcohol to clean leather?
No, isopropyl alcohol is not a good choice for routine leather cleaning. It can dry the surface, affect the finish, and increase the risk of color change. If the wallet needs more than basic surface cleaning, it is better to use a leather-safe product that matches the leather type or to follow the care instructions from the manufacturer.
For home cleaning, stick to mild soap, water, and dedicated leather cleaners.
How do you clean the interior lining of a wallet?
For fabric lining: Vacuum with a soft brush attachment to remove dust and crumbs. Spot-clean with a barely-damp cloth and mild soap. Avoid soaking—wet fabric takes 24+ hours to dry and can develop mildew. Air-dry with wallet propped open.
For leather lining: Follow the same process as the exterior—lightly dampen a cloth, wipe gently, and condition once dry. Interior leather is often thinner and more absorbent, so use even less water.
For suede or nubuk lining: Dry-clean only. Use a suede brush or eraser. Never apply water—it flattens the nap permanently.
Caution: Avoid getting moisture into stitched seams where card pockets attach. Excess water can dissolve interior adhesives, causing pockets to delaminate.