

How to Clean Leather Safely Without Damaging It: A Complete Guide
Leather should not be cleaned using one universal method. A safe approach depends on whether the surface has a protective finish, whether it absorbs moisture, and what kind of contamination you are dealing with. Before cleaning, identify the leather type, check the manufacturer's care instructions, and test any product on a hidden area.
If you're unsure what leather you have, start with the water test in the next section before applying any cleaner.
Quick Start: Safest Method for Protected (Finished) Leather
The workflow below is only a cautious starting point for some items with a sealed or protected surface. It is not automatically safe for all leather goods, especially aniline leather, suede, nubuck, aged finishes, or items with unknown coatings.
Golden rule: Always spot-test on a hidden area first—inner seam, underside, or back panel.
Work conditions:
- Shade or indirect light (heat accelerates drying and can set stains)
- White or undyed microfiber cloths (colored fabric can transfer dye)
- Distilled water (tap water minerals can leave white rings)
Supplies: What You Need and Safe Cleaner Choice
Core tools:
- Soft vacuum attachment or natural-bristle brush
- 4–6 white microfiber cloths
- Two bowls (one for cleaning solution, one for rinse water)
- Distilled water
Cleaning solution:
- A leather cleaner specifically labeled safe for protected / finished leather
- If the manufacturer allows damp cleaning and no dedicated cleaner is available, a very weak soap solution may sometimes be used only as a fallback and only after a spot test
Optional:
- Leather conditioner (compatible with your leather type)
- Protective spray (stain/dye transfer guard)
What makes a cleaner safe:
- No alcohol, ammonia, bleach, or heavy fragrances
- No coloring agents
- Labeled safe for "protected" or "finished" leather
7-Step Cleaning Workflow (Fast, Low-Risk)
Step 0: Spot-Test
Apply a small amount of your chosen solution to a hidden spot. Wait until the area is fully dry before judging the result. Check for:
- Darkening or lightening
- Surface softening or tackiness
- Color transfer to your cloth
If any of these occur, stop and reassess your leather type or switch to a milder cleaner.
For aniline leather, even water-based tests can darken the surface. Blot the test spot immediately if discoloration appears.
Step 1: Dry Dust
Remove loose dirt with a soft vacuum attachment or brush. Pay attention to seams, folds, and stitching—grit trapped here acts like sandpaper during wiping.
Step 2: Prep Solution
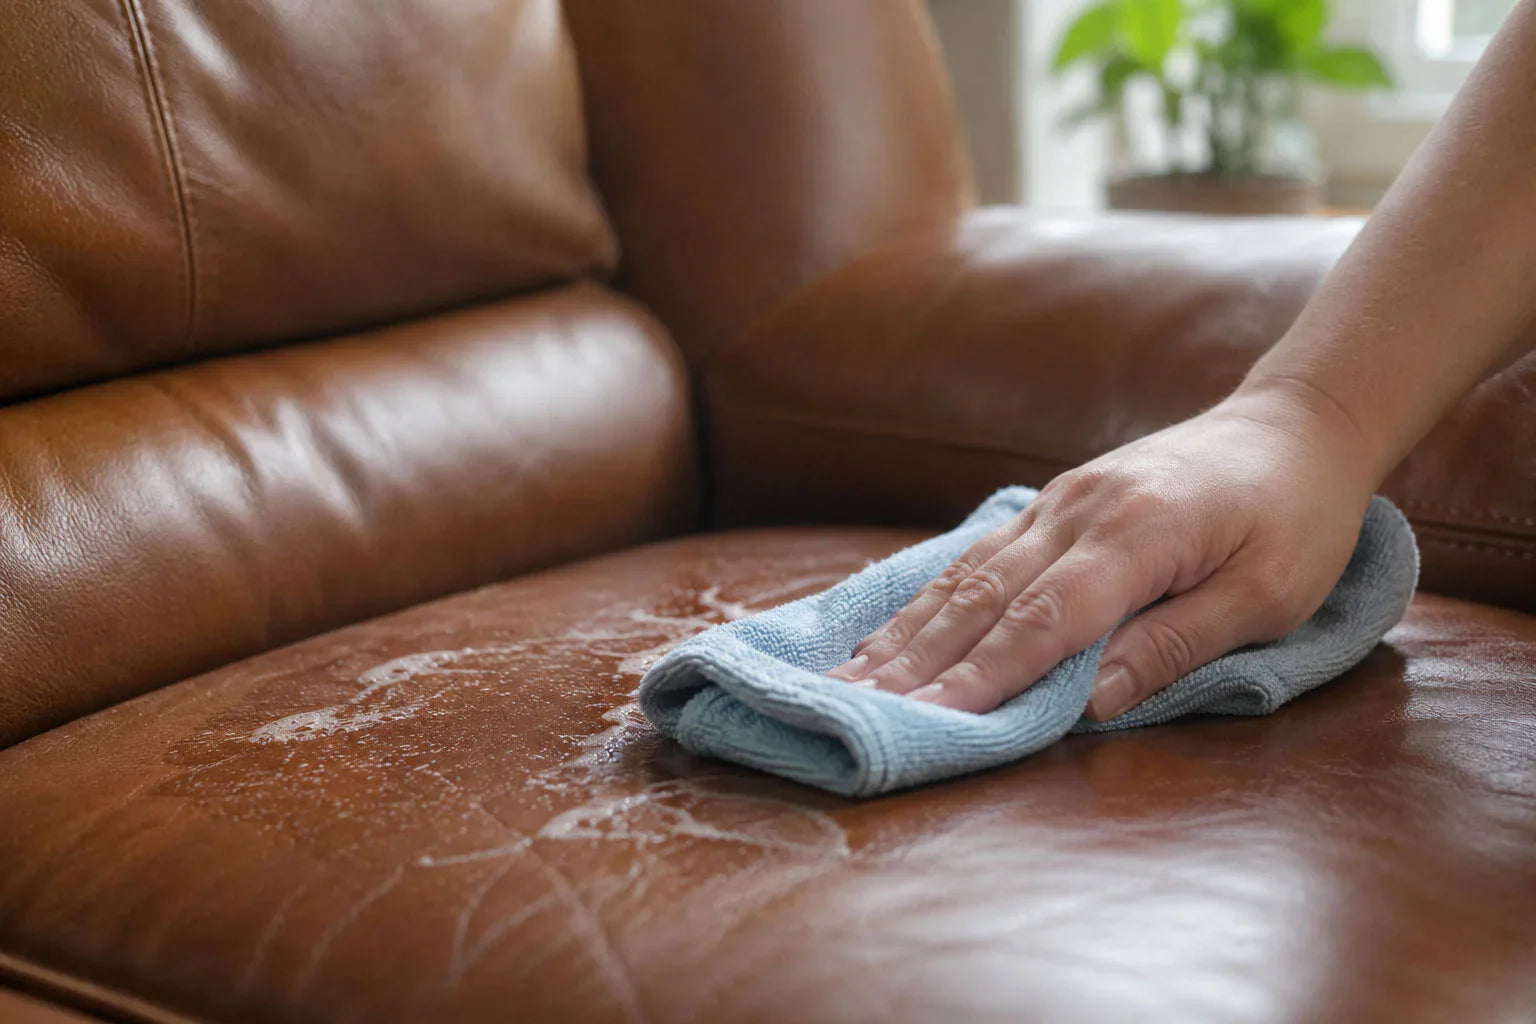
The cloth should be slightly damp, not wet. Avoid saturating the surface, and never pour liquid directly onto the leather.
Step 3: Wipe Gently
Clean a small area at a time using light pressure. Do not scrub aggressively or keep rubbing the same spot if the soil is not lifting. Excess friction can damage the finish faster than the dirt itself.
Step 4: Rinse Wipe
Dampen a second clean cloth with plain distilled water. Wipe the same section to remove soap residue.
Soap left behind can attract dirt or create a sticky film.
Step 5: Dry
Blot with a dry cloth. Let air-dry at room temperature—never use hair dryers, heaters, or direct sun.
Forced heat causes leather to shrink, crack, or lose flexibility.
Step 6: Condition (If Applicable)
Once fully dry, apply a small amount of compatible conditioner. Spread thin and even. Let it absorb per product instructions (usually 15–30 minutes).
Wipe off excess. Too much conditioner makes leather sticky and attracts dust.
Step 7: Buff/Protect
Lightly buff with a clean, dry cloth to restore subtle shine.
Optional: Apply a protective spray to guard against future stains or dye transfer from clothing.
Identify Your Leather Type (Before Deep Cleaning)
One of the most common reasons leather gets damaged during home cleaning is using the wrong method for the surface type.
The key distinction: Does the leather absorb water, or repel it? Can you see a smooth coating, or does the surface look raw and grainy?
Simple Water-Drop Test + Visual Cues
Place one drop of distilled water on an inconspicuous spot:
- Water beads up or rolls off → Protected/Finished (pigmented leather)
- Water slowly soaks in, area darkens → Unfinished/Aniline leather
- Surface feels fuzzy or velvety → Suede or Nubuck
Visual clues:
- Even, consistent color across the surface + matte-to-satin sheen = Protected
- Natural color variation, visible grain texture, no coating = Aniline
- Soft, brushed nap = Suede/Nubuck
Types and How Care Changes
Protected/Finished (Pigmented):
This is usually the most forgiving type for routine cleaning because the surface has a protective finish. Even so, it should not be treated as universally safe for any cleaner or any DIY method. Use only products compatible with finished leather, keep moisture minimal, and avoid unnecessary conditioning unless the manufacturer allows it and the surface actually needs it.
Unfinished/Aniline:
Absorbs liquids easily. No protective topcoat—dye penetrates directly into leather.
- Use only aniline-specific cleaners
- Minimal moisture (damp cloth, not wet)
- Test conditioner first (can darken)
- Professional cleaning recommended for stains
Suede/Nubuck:
Buffed surface with raised fibers.
- Never use liquid cleaners
- Brush with suede brush or eraser block
- Specialized suede stain removers only
- Deep stains often require professional restoration
Remove Common Stains from Leather
Act fast, but gently. Never scrub with abrasive pads. For aniline and suede, always verify product compatibility first.
Step-by-Step Fixes for Top Stains
Grease/Oil (Food, Cosmetics)
Blot excess immediately—don't rub it deeper.
Sprinkle cornstarch or talcum powder over the spot. Let sit 2–4 hours. Brush off gently.
Repeat if needed. For protected leather, follow with a light wipe using your mild cleaning solution.
Don't apply water directly to grease—it can spread the stain or create a halo.
Ink/Dye Transfer (Pen, Denim)
For protected leather: Use a leather-specific ink remover. Spot-test first.
Dab (don't wipe) the stain with a cotton swab. Work from the outside in to avoid spreading. Immediately neutralize with a damp clean cloth.
Avoid alcohol or acetone—they strip finish and can bleach color.
For aniline: High risk of permanent absorption. Professional treatment often necessary.
Water Rings/Spots
Let the area dry completely on its own—sometimes spots disappear naturally.
If a water ring remains, do not immediately re-wet the area more aggressively. On some protected finishes, careful moisture blending may help, but on sensitive surfaces it can make the mark worse. If the stain is visible after a cautious first attempt, further home treatment should be limited.
Stubborn rings: Use mild cleaner, wipe, rinse, and dry again.
Aniline water spots usually require professional color correction.
Mold/Mildew
Work outdoors or in a well-ventilated area. Wear gloves.
Vacuum with a HEPA filter attachment (outside the house) to remove loose spores.
For protected leather: Wipe with mild cleaning solution. Dry thoroughly. Ensure good airflow to prevent recurrence.
Avoid household disinfectants, bleach, and acidic DIY remedies unless their compatibility with the specific leather finish is clearly established. These products can discolor or damage the surface.
Heavy mold infiltration often penetrates beyond the surface—professional deep cleaning recommended.
After mold removal: Wash all cleaning cloths separately in hot water with detergent. Dispose of heavily contaminated materials.
When to Call a Pro (Triage + How to Find One)
Go directly to a specialist if you see:
- Deep cuts, cracks, or peeling finish
- Strong odor or visible mold penetration
- Widespread dye transfer across large areas
- Discoloration after home cleaning attempts
- Sticky or softened surface texture
Key questions to ask:
- "Do you have experience with [specific leather type] restoration?"
- "What cleaning agents and methods do you use?"
- "Can you provide references for similar work?"
- "What is your warranty on the restoration?"
What to Avoid on Leather (Chemicals, Tools, Myths)
Mistakes at this stage are often permanent. If unsure, don't use it.
Hard-No List (With Why)
- Bleach, ammonia, rubbing alcohol, acetone: Break down finish, dry out leather, cause discoloration
- All-purpose degreasers or household cleaners: Too alkaline, strip protective oils
- Abrasive sponges, Magic Erasers: Remove surface coating along with the dirt
- Baby wipes or disinfectant wipes: Alkaline pH, leave residue film, may contain alcohol
- Excessive water or soaking: Causes swelling, water stains, loss of shape
Use with Caution (If Ever)
Vinegar and baking soda:
Both are acids/bases that can alter pH balance of leather, damage finish, or leave mineral deposits. Stick to pH-neutral leather products instead.
Saddle soap:
Designed for raw or vegetable-tanned leather (saddles, bridles). Too harsh for most furniture and fashion leather with polymer finishes.
Heat sources (hair dryers, steamers, radiators):
Rapid drying causes shrinkage and cracking. Leather needs slow, even air-drying.
Colored cloths or fabric-softened towels:
Risk of dye transfer or waxy buildup. Use white, untreated microfiber only.
Condition and Protect After Cleaning
Conditioner is not automatically necessary after every cleaning. Some protected leathers do not need frequent conditioning at all. Use it only if the leather type is compatible, the manufacturer allows it, and the surface shows signs of dryness rather than simple surface dirt.
Frequency:
- Protected leather: condition only when the finish is compatible and the surface shows signs of dryness or stiffness
- High-use items may need more frequent inspection, but not automatic treatment on a fixed schedule
- Aniline: use only compatible products and test first
- Suede/Nubuck: avoid liquid conditioners unless the product is specifically designed for these materials
How and When to Condition
When to condition:
- After full cleaning and complete drying
- When leather looks dull, feels stiff, or makes squeaking sounds
- Before long-term storage
Compatibility check:
Verify the conditioner matches your leather type. Spot-test for darkening before applying to visible areas.
Don't overdo it:
Excess conditioner makes leather tacky and attracts dust. Thin, even layers work better than heavy coats.
Apply Conditioner Correctly
Process:
- Apply a small amount to a clean applicator or cloth
- Spread it in a thin, even layer without over-saturating the surface
- Let it sit as directed by the product label
- Wipe away any excess with a clean cloth
- Buff lightly if needed
Recommended Safe Cleaners & Conditioners (Quick Picks)
|
Product Name
|
Type
|
Compatible With
|
pH / Alcohol-Free
|
Best For
|
Key Advantage
|
Note
|
|---|---|---|---|---|---|---|
|
COLOURLOCK Mild Leather Cleaner
|
Cleaner
|
Protected, Semi-Aniline
|
pH 5.5 / Yes
|
Furniture, auto interiors
|
Gentle, residue-free
|
Not for raw aniline
|
|
Lexol Leather Cleaner
|
Cleaner
|
Protected
|
pH ~6 / Yes
|
Furniture, bags, belts
|
Widely available, affordable
|
Requires thorough rinse
|
|
Leather Honey Conditioner
|
Conditioner
|
Protected, light use on aniline
|
Not specified / Yes
|
Bags, jackets, furniture
|
Deep penetration, natural ingredients
|
Can darken some leathers—test first
|
|
Chamberlain's Leather Milk
|
Conditioner
|
All types (formulas vary)
|
pH-neutral / Yes
|
Furniture, auto, apparel
|
Multiple formulas for different leather types
|
Follow product line for your type
|
|
Gyeon Q2 LeatherCoat
|
Protector
|
Protected only
|
N/A / Yes
|
Auto interiors, high-wear furniture
|
Designed to help reduce dye transfer and stains
|
Not a cleaner—apply after conditioning
|
Routine Care and Prevention
Routine Care
- Remove dust before it builds up in seams and high-contact areas
- Wipe spills early instead of waiting for stains to set
- Avoid heat, direct sun, and repeated friction on the same worn areas
- Inspect the surface before using any cleaner or conditioner
For smaller everyday accessories, such as a leather wallet or iPHONE 17 PRO MAX cases, routine care should be even more conservative: remove dust with a soft dry cloth, avoid soaking the surface, and test any cleaner before applying it to visible areas.
FAQ
How long should leather dry before sitting or using it after cleaning or conditioning?
Ideally, wait until the surface no longer feels cool to the touch and any slight dampness has fully evaporated. Follow the product's specific drying recommendation.
Will cleaning void my furniture or car seat warranty?
It depends on the manufacturer. Check the care label or owner's manual for approved cleaning methods and products. Document your spot-test and use only compatible cleaners to reduce warranty risk.
What's the difference between a leather cleaner and a leather conditioner?
A cleaner is used to remove surface dirt, oils, and residue. A conditioner is a separate product that may help some compatible leathers if the surface has become dry or stiff. Using conditioner on dirty leather is a bad idea because it can seal residue into the surface instead of improving it.